
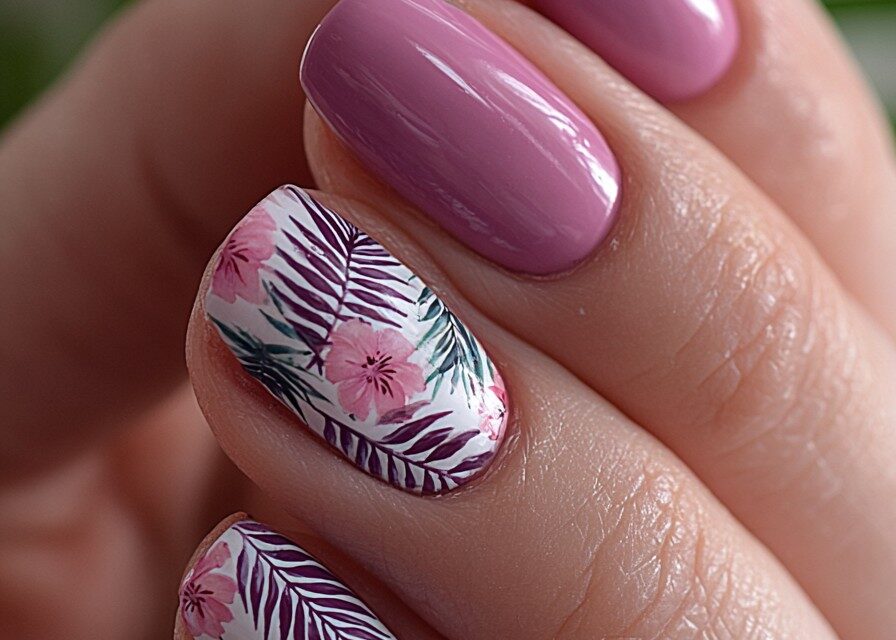

The Charm of Pastel Ombre Spring Nail Designs
Pastel ombre nails are the perfect way to welcome spring. The soft, blended colors are versatile, chic, and surprisingly easy to create at home.

Why You’ll Love These Spring Nail Ideas
- They’re full of fresh, seasonal colors.
- You can create salon-style nails at home.
- These designs work for minimalist and bold styles.
- They add a fun, feminine touch to your everyday look.
- You can mix and match colors for a unique manicure.
- Pastel colors pair beautifully with spring outfits.
What You’ll Need for Spring Nail Designs
Base and Polish Colors
- Base Coat: Protects your nails and helps polish last longer.
- Pastel Polish Colors: Choose 2–3 soft shades like pink, lavender, mint, baby blue, or pale yellow.
- White Polish: Great for a clean base or delicate details.
Nail Art Tools
- Makeup Sponge: Essential for creating the ombre effect.
- Small Detail Brush: Perfect for flowers, lines, and tiny details.
- Dotting Tool: Useful for polka dots and simple floral accents.
- Nail Art Stickers: Optional, but helpful for quick designs.
Finishing Touches
- Top Coat: Seals the design and adds shine.
- Nail Polish Remover: Helps clean up polish around the edges.
How to Make Spring Nail Designs You’ll Love
Prep and Base
- Step 1: Prep Your Nails: Clean and shape your nails. Gently push back your cuticles and lightly buff the nail surface.
- Step 2: Apply Base Coat: Apply a thin, even layer of base coat and let it dry completely.
Create the Ombre Effect
- Step 3: Add Polish to Sponge: Paint stripes of pastel polish side by side on a makeup sponge. Slightly overlap the colors for a smoother blend.
- Step 4: Sponge Onto Nails: Gently dab the sponge onto each nail, building the color slowly with light layers.
- Step 5: Clean the Edges: Use a small brush dipped in nail polish remover to clean polish from your skin or cuticles.
Finish Your Spring Manicure
- Step 6: Add Details: Use a detail brush, dotting tool, or stickers to add flowers, dots, or simple accents.
- Step 7: Apply Top Coat: Seal your design with a glossy top coat.
- Step 8: Let Nails Dry: Let your nails dry fully before touching anything to avoid smudges.
How to Style Spring Nail Designs
These spring nail designs pair beautifully with soft dresses, pastel outfits, white tops, gold jewelry, and fresh spring makeup. For a clean look, keep the colors soft and simple. For a bolder look, add floral details or glitter accents.

How to Make Your Spring Manicure Last Longer
- Use a good base coat before applying polish.
- Apply thin layers instead of thick coats.
- Seal the nail tips with top coat.
- Reapply top coat every 2–3 days.
- Wear gloves when washing dishes or cleaning.
How to Store Nail Polish
- Storage: Keep nail polish in a cool, dark place away from direct sunlight.
- Avoid Heat: Heat can change the texture and color of polish.
- Seal Tightly: Always close bottles tightly to prevent drying.
Spring Nail Designs FAQ
Q: How do I prevent my ombre nails from looking streaky?
A: Use a fine-pored sponge and dab lightly. Build the color with several thin layers instead of pressing too hard.
Q: What is the best way to clean up the edges?
A: Dip a small detail brush in nail polish remover and carefully trace around the nail edges.
Q: How can I make my spring manicure last longer?
A: Use both base coat and top coat, avoid harsh chemicals, and reapply top coat every few days.